Setting the Groundwork: A Guide to Preparing Your Site for a Garden Shed
Getting ready to set up your garden shed?
Well, hold up—let's chat about laying the groundwork first! In this blog post, we're diving into why getting the ground ready is a big deal for a garden shed so that it stands the test of time. We've got the lowdown on the essential steps and tips to make your outdoor space both practical and functional.
Deciding where to put your shed is important and involves careful consideration of several factors to ensure your shed will function and stand the test of time.
Here are some key aspects to think about:
- The Surroundings: Take note of your house, fence, and garden to identify a convenient spot for your garden shed. Ensuring distance to these elements enhances accessibility and functionality. Take into account access to all sides of your shed so that it can be easily cleaned and maintained.
- The Ground Conditions and Appearance: Avoid areas prone to excessive moisture, as this can adversely affect the garden shed’s integrity and longevity. Additionally, assess the sunlight exposure for good lighting and reduced chances of dampness inside. Consider both practical and aesthetic aspects when evaluating the ground.
For a solid and lasting shed floor or base, you need a flat and well-drained area. Putting your shed on uneven or sloping ground could affect its structure over time. A level surface keeps the shed from leaning, twisting, or bowing. While our timber is treated, it is best to prevent water from pooling around the shed and reduce the chance of rot and damage, good drainage is key.
Now, let's get into our guide on how to prep the ground for your shed:
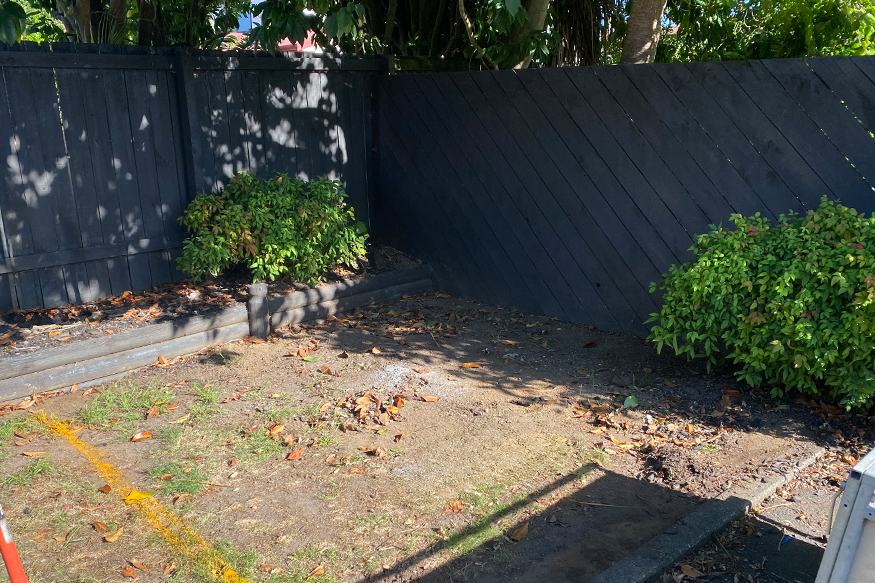
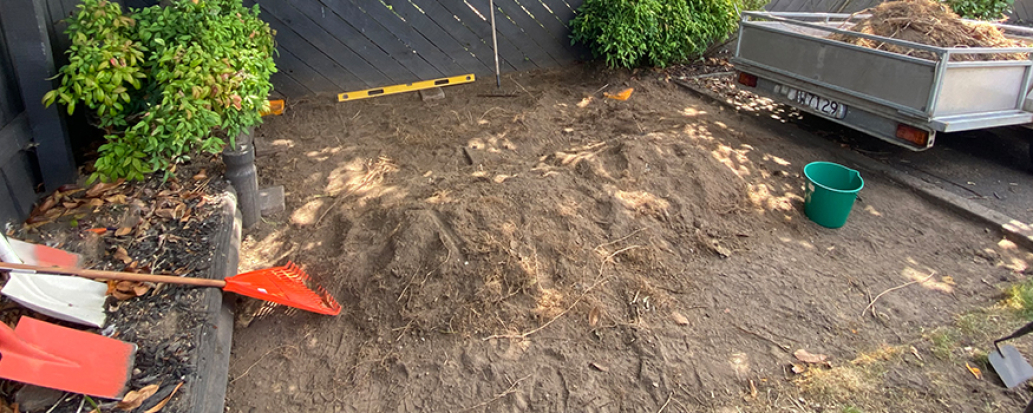
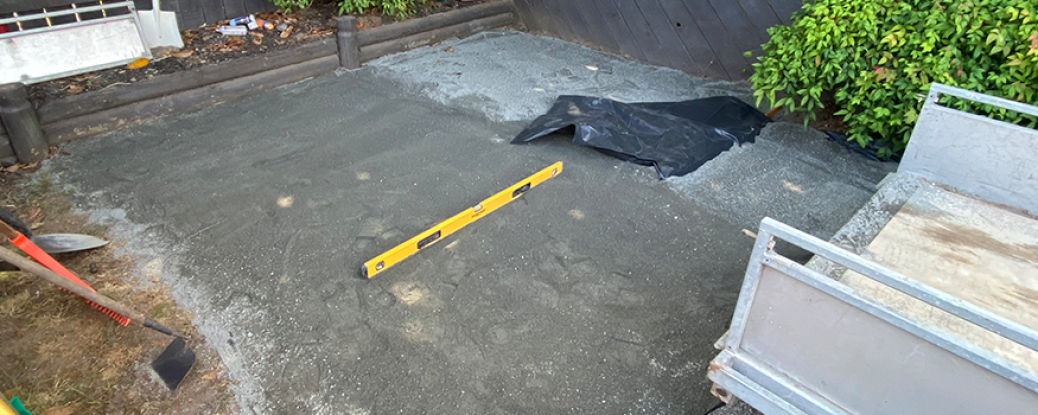
- Get your shed base ready by clearing the area of any grass, weeds, plants or debris. Make sure the ground is flat by using a shovel, rake or levelling tool. Don’t forget to look up and trim any overhanging branches, as they can interfere with your setup, and it is much easier to trim these before the shed is assembled. For optimal longevity, if the shed isn’t going onto a concrete pad, preparing a gravel or sand pad will increase the longevity of your shed.
- Check the drainage in the area to ensure water doesn't pool around the shed. If it does, create a shallow trench around your shed base to make sure that pooling stays at bay. You can also redirect the water away from your shed and towards plants needing that extra rainwater.
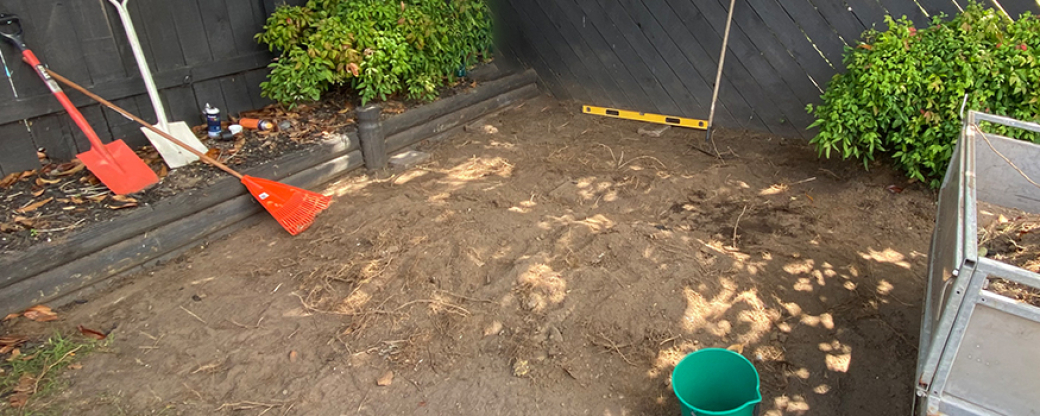
- Check that the ground is level. This step is very important to have a shed that goes together well and will look good for years to come! If you cannot have a level site, then you may need to build a platform or subframe for your shed to sit on.
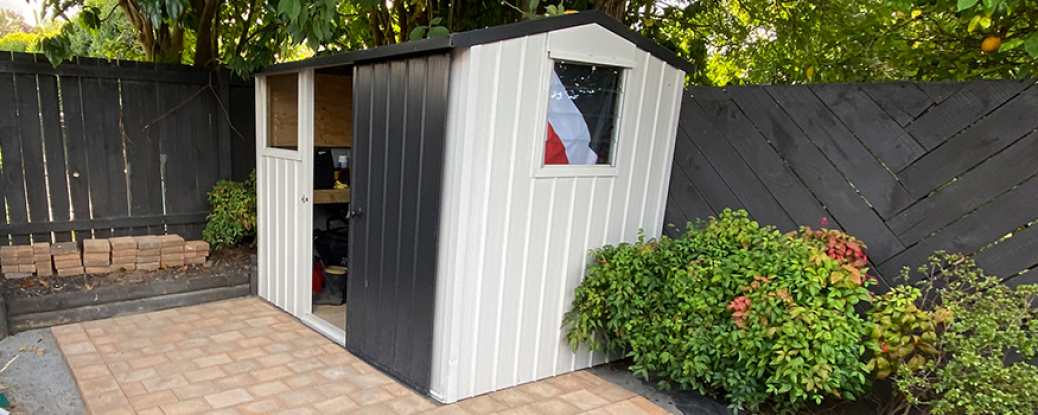
Taking the time to prepare the ground for your garden shed properly is an investment that pays off in the long run. Not only does it contribute to the structural integrity of the shed, but it also enhances its overall functionality and aesthetic appeal. So, before you start assembling your shed, devote the necessary time and effort to set the groundwork right—it's the foundation for a garden shed that stands the test of time. Happy building!